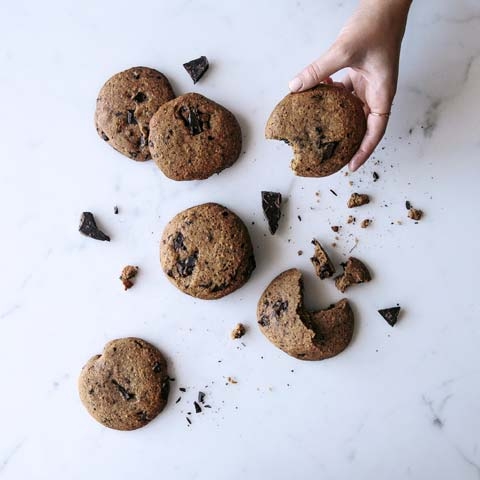


Crunchy, crispy, caramelised edges coated in chocolate, with a deliciously chewy centre - these ANZAC-style cookies are, to me, pretty close to perfect.
For those new to the ANZAC biscuit, it was originally created during World War I and sent by wives and mothers to soldiers serving overseas, as it kept well during long shipments.
Traditional recipes often include golden syrup, but I wanted to streamline the ingredients a little. After plenty of testing, this version came out on top for taste, texture, and ease - a triple win!
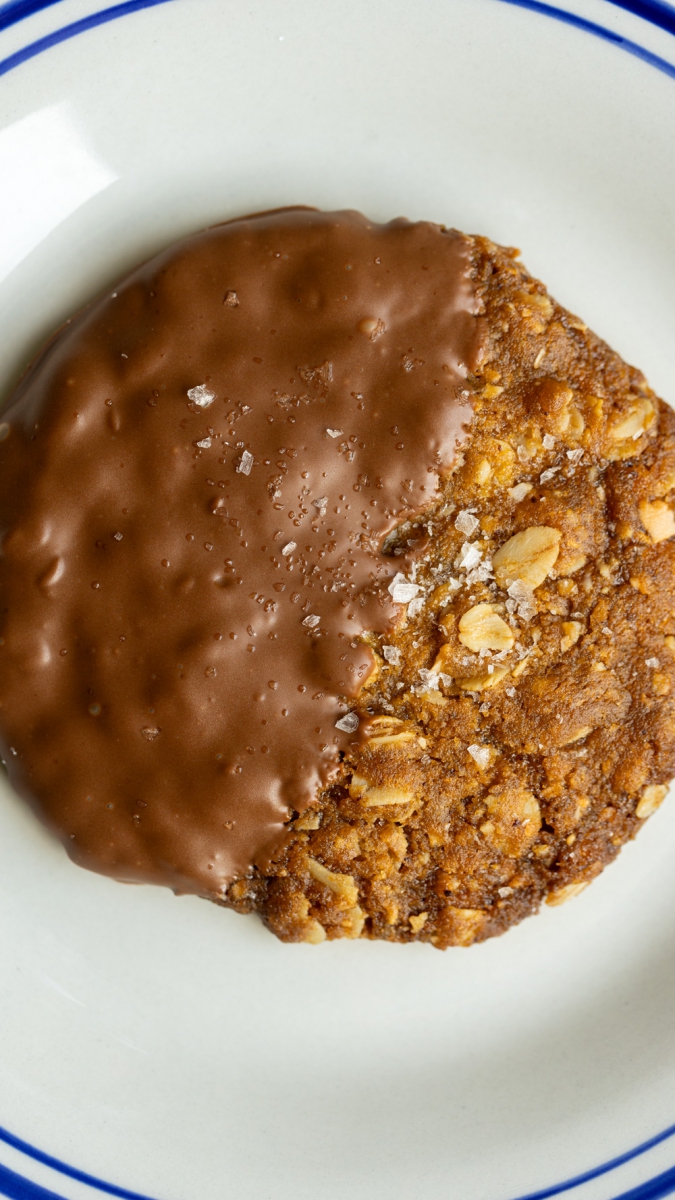
You can absolutely enjoy them plain, but dipping them in good-quality chocolate is a luxurious extra step I highly recommend. I’ve used a high-cocoa-content milk chocolate (35%), but a 50/50 mix of milk and dark is also lovely - or go all in with 100% dark chocolate if that’s your thing. Just use what you love.
Store these in an airtight container in the fridge - I think they’re at their best cold, chewy, and straight from the fridge. So good.


'SALADS' Recipe eBook
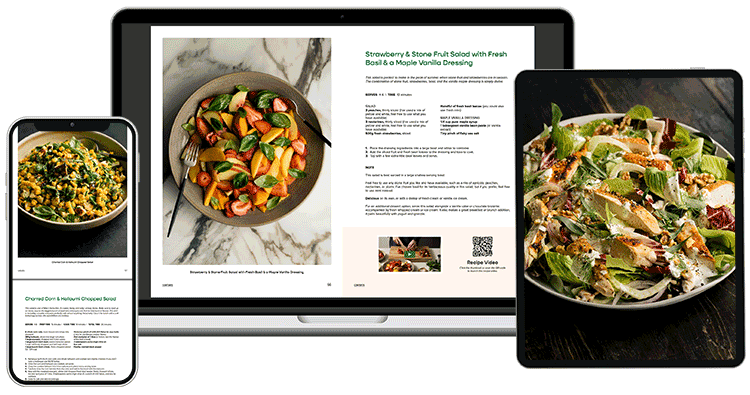
Made easy with step-by-step videos to guide you through each step and help aid in the food styling process.
Fresh, healthy, simple recipes every night of the week!

Ingredients
 Vegetarian, Nut-free, Egg-free
  45 minutes preparation time + 12 minutes baking time (plus cooling time)
  10-12
10-12 - 140g salted butter, chopped into small, even pieces
- 100g (1/2 cup) brown sugar
- 70g (1/3 cup) caster sugar
- 1 teaspoon vanilla extract
- 1 teaspoon baking soda
- 2 tablespoons boiling water
- 125g (1 cup) plain flour
- 100g (1 cup) rolled oats
- 50g (1/2 cup) desiccated coconut
- Pinch of sea salt
- 180g milk chocolate, roughly chopped (or use dark, or a mix of milk and dark, if you prefer)

Method
Brown the butter
- Place the butter in a small saucepan over medium heat.
- It will first melt, then start to splatter as the water evaporates. Stir continuously with a sturdy spatula or flat wooden spoon, scraping up any caramelised bits from the bottom.
- Once the butter quietens and begins to foam, it's starting to brown. Keep a close eye on it — it can change quickly. Continue stirring and scraping until it smells nutty and is deeply golden brown.
- Immediately pour the browned butter (including all the toasty bits) into a large mixing bowl. Let it cool for 5 minutes.
Make the cookies
- Preheat your oven to 180°C/350°F.
- Line 2–3 large baking trays with baking paper.
- Add the sugars, vanilla, and baking soda to the slightly cooled butter. Pour the hot water over the baking soda and whisk to combine.
- Add the flour, oats, coconut, and a pinch of salt. Fold together with a spatula until well combined.
- Using a small cookie scoop, portion the dough into roughly 3-tablespoon-sized mounds. Press together with your hands — the mixture may feel a little crumbly due to the oats — and gently shape into tall discs around 3–4 cm high. Resist flattening them too much; they’ll spread in the oven.
- Arrange on baking trays, leaving enough space for them to double in size.
- Bake for 12 minutes, or until golden.
- Allow to cool on the trays for at least an hour before transferring to a wire rack — or simply leave them on the trays to cool completely. For faster cooling, pop them into the fridge.
Dip in chocolate (optional, but recommended!)
- Melt 2/3 of the chocolate in a small saucepan over very low heat, stirring gently. Remove from heat, add the remaining 1/3, and stir until fully melted.
- Dip the cooled cookies halfway into the chocolate, letting any excess drip off. Place on a paper-lined tray. If desired, sprinkle with a tiny pinch of flaky sea salt.
- Refrigerate until the chocolate is set. Store in the fridge — they’re perfect eaten cold, with that signature ANZAC chew.
NOTES
- Browned Butter Tips: Keep stirring and scraping the pan as the butter browns - those caramelised bits are key to the flavour. The moment it smells nutty and turns deeply golden brown, remove it from the heat. It can go from perfect to burnt quickly.
- Cookie Texture: These cookies are crisp-edged with chewy centres, especially when stored in the fridge. If you like a softer cookie, bake for 1-2 minutes less.
- Thicker Cookie: If you prefer a thicker cookie add 10-15g each of oats and coconut to the mixture.
- Crumbly Dough? The mixture may feel a little crumbly when shaping - this is normal due to the oats. Press it firmly into balls and they’ll hold together once baked.
- Chocolate Dipping: Be sure the cookies are completely cool before dipping or the chocolate may slide off. Dipping only halfway keeps things neat and gives a beautiful visual contrast.
- Storing: Store in an airtight container in the fridge for up to a week. They’re even better the next day when the flavours have settled.

Free Resources
Click on the links below to print or save this recipe to your device.