


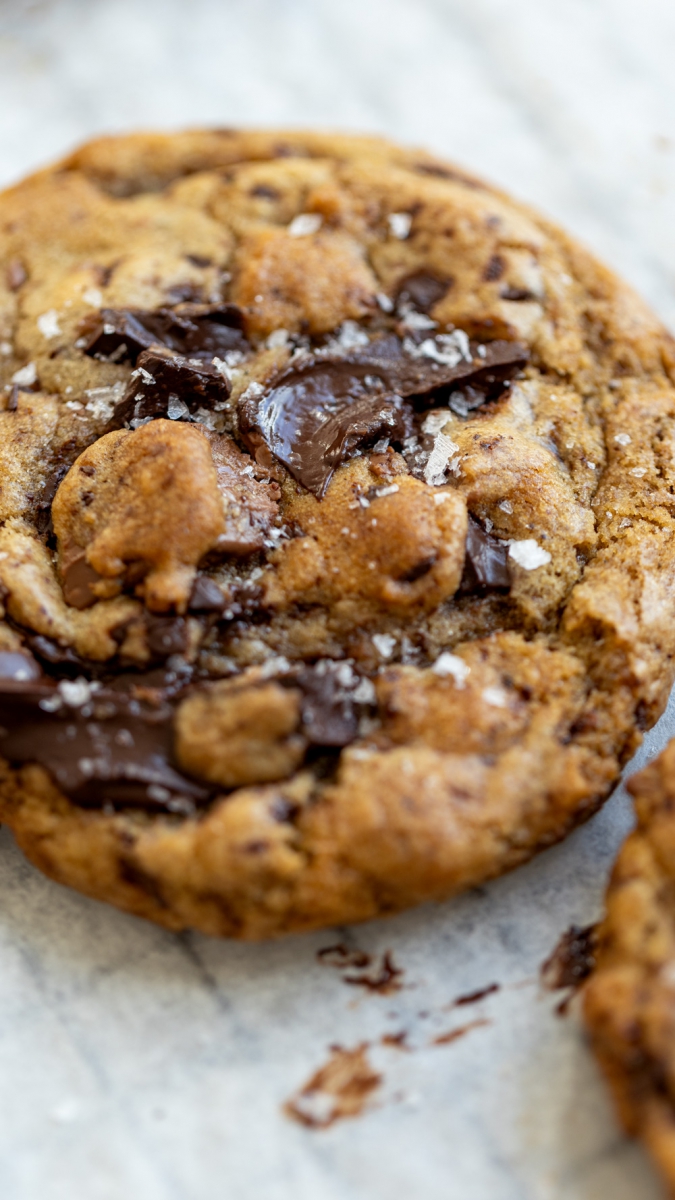
Your next weekend bake sorted! A sweet and chewy cookie with a subtle gooey centre, scented with cardamom and the most divine browned butter. These might just be your new favourite. The hardest part is waiting for the dough to rest overnight.
I personally love a mix of milk and dark chocolate in a cookie, as it creates a wonderful contrast. However, feel free to opt for either all dark or all milk chocolate if that's your preference.
I hope you love these! If you have any questions, please let me know, and if you give them a try, be sure to tag me @gatherandfeast


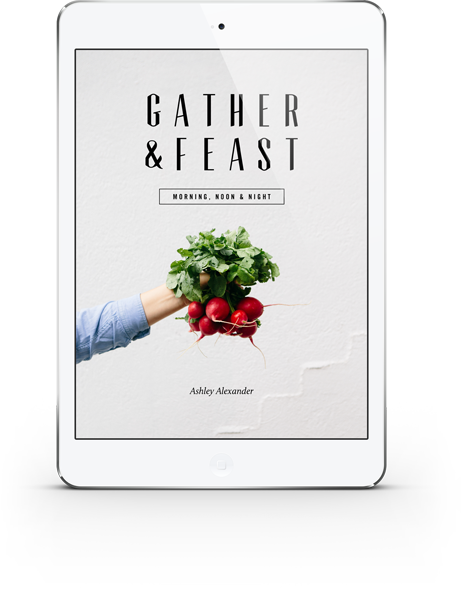
'SALADS' Recipe eBook
Elevate your salad game with these flavour-packed recipes to cook for yourself and others.
Made easy with step-by-step videos to guide you through each step and help aid in the food styling process.
Fresh, healthy, simple recipes every night of the week!

Ingredients
 Nut-free
  20 minutes preparation time + 12 minutes cooking time (+ resting and cooling time)
  Roughly 10
 - 180g (6.24oz) salted butter, chopped into even-sized pieces
- 140g (2/3 cup) castor sugar
- 100g (1 cup) brown sugar
- 1 tablespoon vanilla extract
- 2 teaspoons ground cardamom
- 1 tablespoon cold water
- 1 egg
- 250g (2 cups) plain/all-purpose flour
- 1 teaspoon baking soda
- 1/2 teaspoon sea salt
- 200g chocolate, roughly chopped (all dark or a mix of dark and milk)

Method
- Start by browning the butter. Place the evenly chopped butter into a small saucepan over medium heat.
- First, the butter will melt, then start to splatter.
- It will splatter for a while as the water evaporates from the butter.
- Then you’ll notice it go from being really noisy and spluttery to nice and quiet and start foaming; this is the good part, it's starting to brown.
- Now, keep an eye on it at this point as it can happen quickly.
- Once it's foaming, using a sturdy spatula or flat wooden spoon, stir the butter and as you stir, scrape up the browned bits on the bottom of the pan.
- Keep doing this until the butter is really browned. We want a really roasty toasty flavour.
- When it's dark brown, take it off the heat and pour it into a large mixing bowl.
- Make sure you scrape in all of those toasty browned almost burnt bits; that's where all of our toasty caramelised flavour is coming from.
- Allow it to cool slightly, for a few minutes.
- Then add the sugars, vanilla, cardamom, and water and whisk to combine.
- Whisk in the egg.
- Now fold in the flour, baking soda, and salt.
- Finally, fold in the chocolate. I’ve used a mix of mainly dark chocolate with a little milk as I like a little bit of contrast, probably 3/4 dark and 1/4 milk. But feel free to use all dark chocolate if you prefer.
- Now, cover the dough and place it into the fridge overnight to rest. Ideally overnight as it helps the flavours develop and flour hydrate. It also ensures proper spread on the cookies as they bake. It really does make all the difference. If you can't do overnight, at least 5-6 hours in the fridge. But if you can, overnight is best.
- You can also keep the dough in the fridge for up to 3 days before baking.
- When you're ready to bake, preheat your oven to 180°C/350°F.
- Form the dough into 80g sized balls.
- Place evenly onto baking trays with enough room for spreading.
- Bake at 180°C/350°F for 12 minutes.
- Remove from the oven and cool on the trays for at least 30 minutes before moving them.
- Enjoy warm and gooey from the oven or cold from the fridge the next day.
NOTES
- Be attentive while browning the butter. It can quickly go from browned to burnt, so keep an eye on it and stir constantly.
- Allow the browned butter to cool slightly before adding sugars and other ingredients. This prevents the hot butter from cooking the egg and the chocolate later on.
- Choose your chocolate according to personal preference. A mix of milk and dark chocolate provides a nice contrast, but you can use all dark or all milk chocolate if preferred. Ensure the chocolate is roughly chopped for better distribution in the cookie dough.
- Chilling the dough overnight is recommended for optimal flavour development and texture. If unable to chill overnight, a minimum of 5-6 hours at least is advised. Chilling helps hydrate the flour and allows the flavours to meld together, resulting in a better cookie texture and taste.
- When forming the dough into balls, ensure they are evenly sized for consistent baking. A set of baking scales or a 1/4 cup is helpful for portioning.
- Leave enough room between dough balls on the baking tray to allow for spreading during baking. This ensures the cookies bake evenly without touching each other.
- Allow the cookies to cool on the baking trays for at least 30 minutes before transferring them to a cooling rack. This helps them set and prevents them from breaking apart when moved.
- Store cooled cookies in an airtight container at room temperature for a few days or in the fridge for up to 5 days. The dough balls can also be frozen to be baked fresh another day.
- Enjoy these cookies warm and gooey straight from the oven or chilled from the fridge the next day.

Free Resources
Click on the links below to print or save this recipe to your device.