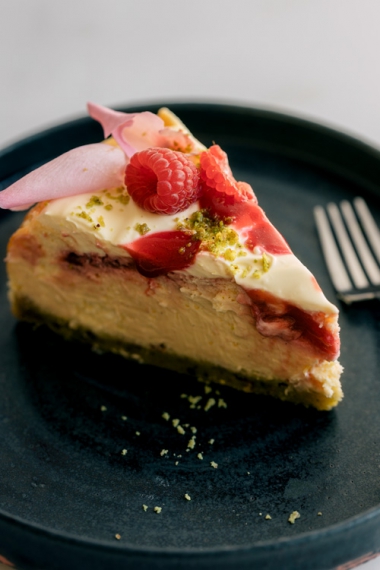
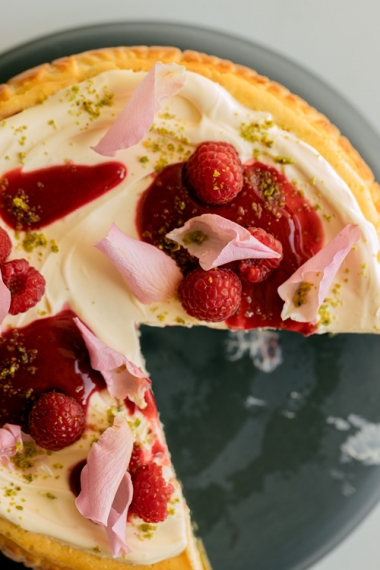
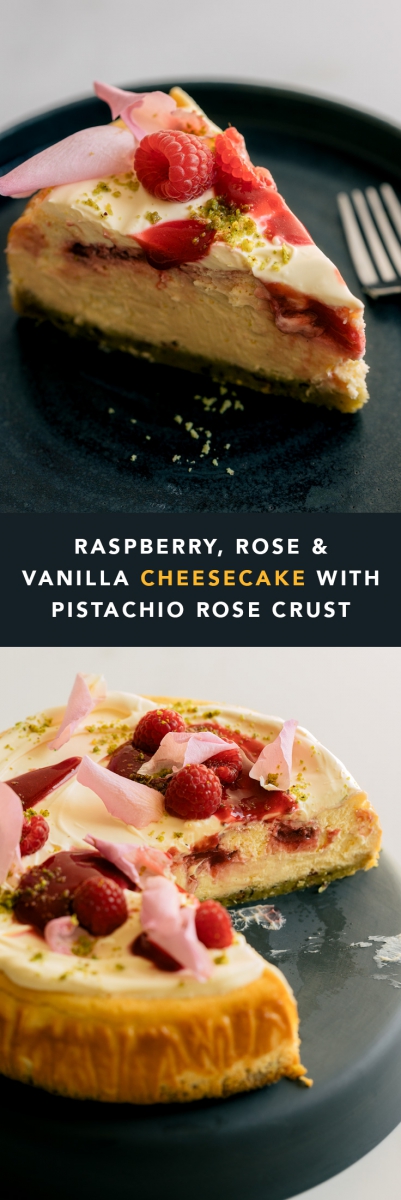
I LOVE a good baked cheesecake and I'm also someone who's very particular about the texture of a cheesecake. Let me tell you, this one is perfect!
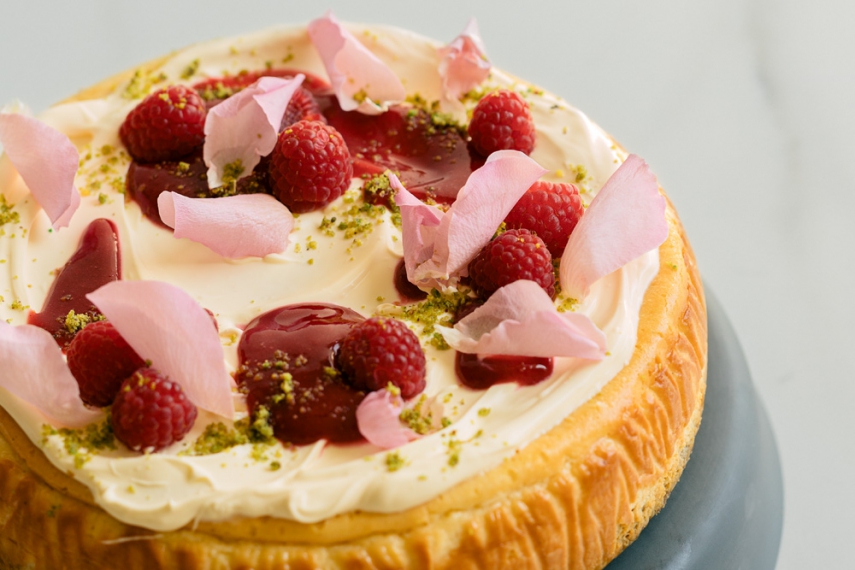
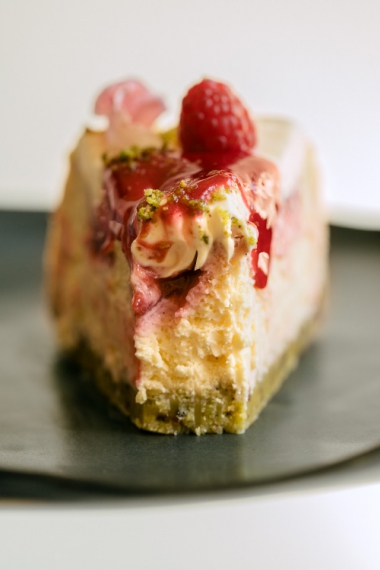
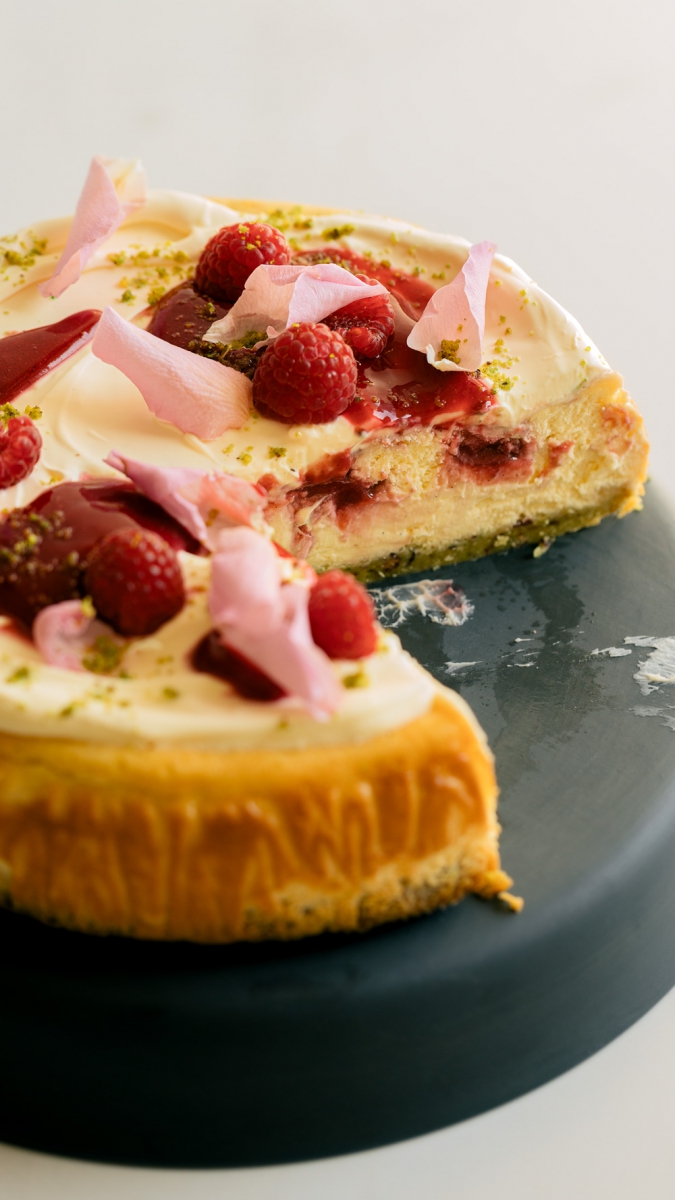
The vanilla cheesecake is velvety smooth, and the pistachio shortbread base adds a lovely nutty flavour. The sweet yet tangy raspberry rose sauce on top perfectly complements the cheesecake without being overly sweet.
While there are a few steps involved, this recipe is relatively easy to make and the results are stunning.
I like to swirl the raspberry rose sauce into the cheesecake before baking it and then add an extra layer on top to create a beautiful layering effect when it's sliced.
The raspberry rose sauce is so delicious that it is worth making a double batch. It can be served over vanilla ice cream or as a topping for other desserts.
One of the best things about this recipe is that there is no need for a water bath (which aids in creating a smooth texture in the cheesecake). Instead, I prefer to place a large tray of hot water in the oven on the tray beneath the cheesecake, which achieves the same effect without the need to worry about waterproofing the cake tin or water seeping into the cheesecake. This method works perfectly every time.
Hope you love the recipe, and as always please let me know if you make it @gatherandfeast, and feel free to ask any questions.

Made easy with step-by-step videos to guide you through each step and help aid in the food styling process.
Fresh, healthy, simple recipes every night of the week!
Ingredients
 30 minutes preparation time + 1 hour 35 minutes baking time (plus cooling time overnight)
  16
16 Raspberry rose sauce
- roughly 200g (2 cups) frozen raspberries
- 70g (1/3 cup) castor sugar/superfine sugar
- 1 tablespoon vanilla bean paste or vanilla extract
- 2-3 tablespoons rosewater, depending on the strength of the rosewater you're using
Pistachio rose crust
- 195g (1 1/3 cup) all-purpose/plain flour
- 70g (1/3 cup) castor sugar/superfine sugar
- 1-2 tablespoons dried edible rose petals (optional)
- 150g salted butter (2/3 cup or 1 1/3 sticks for US measurements), chopped into small pieces
- 60g (1/2 cup) pistachio crumbs/pistachio meal
Vanilla cream cheese filling
- 750g (26.5oz) full-fat Philadelphia cream cheese (3 blocks)
- 250g (1 1/4 cup) full-fat sour cream
- 225g (1 cup) castor sugar
- 2 tablespoons vanilla bean paste
- 4 eggs, + 2 egg yolks
To serve
- 200g (1 cup) crème fraîche
- Fresh raspberries
- Pistachio crumbs/pistachio meal
- Fresh edible rose petals (optional)
Method
Raspberry rose sauce
- Place the frozen raspberries and sugar into a small saucepan then simmer over low heat for 5 minutes.
- Remove from the heat and allow to cool slightly.
- Add the vanilla and rosewater, stir to combine, then allow to cool completely.
- Once cool, blend the sauce then strain through a fine mesh sieve (you can skip the straining if you don't mind the raspberry seeds).
- Set the sauce aside until ready to use.
Pistachio rose crust
- Preheat your oven to 180°C/350°F.
- Grease and line a 23cm/9-inch round springform pan and set aside.
- In a medium-sized mixing bowl add the flour, sugar, and dried edible rose petals (optional), then stir to combine.
- Add the butter and rub it into the flour and sugar mixture with your fingers.
- Once well incorporated add the pistachio meal and continue mixing with your hands until combined and no large butter lumps remain.
- Sprinkle the mixture into the lined pan and gently and evenly press the mixture out to form the base of the cake.
- Place into the oven and bake at 180°C/350°F for 20 minutes.
- Remove from the oven and set aside to cool slightly.
Vanilla cream cheese filling
- Turn the oven down to 160°C/320°F.
- Using a stand mixer or hand beaters beat the cream cheese until smooth.
- Add the sour cream and beat again until smooth.
- Add the sugar and vanilla, scrape down the sides and bottom of the bowl, then beat again until super smooth.
- Add the eggs and egg yolks and beat until smooth.
- Pour the mixture into the cake pan over the cooked and slightly cooled base.
- Next, dollop roughly 2/3 of the raspberry rose sauce onto the cheesecake batter.
- Using the end of a spoon or knife gently swirl the sauce into the batter.
- Place a tray of hot water into the oven below the rack the cheesecake will sit on. This aids in creating a smooth texture in the cheesecake.
- Now place the cheesecake into the oven on the rack above the tray of water.
- Bake at 160°C/320°F for 1 hour 15 minutes.
- Remove from the oven and set aside to cool (the cake will still be wobbly).
- Pop the cake into the fridge to set overnight or for at least 5-6 hours.
To serve
- Remove the cake from the tin and then remove the baking paper.
- Place the cake onto a serving plate.
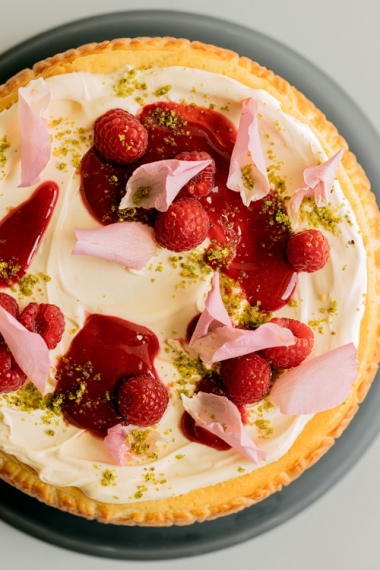
- Spoon and smooth the crème fraîche over the top of the cheesecake.
- Dollop the remaining 1/3 of raspberry rose sauce on top and decorate with fresh raspberries, pistachio crumbs, and fresh edible rose petals (optional). Enjoy!
NOTES
- Store any leftover cheesecake in the fridge for up to 5 days.
- If you can’t find pistachio crumbs or pistachio meal simply crush pistachios in a food processor or finely chop them.
- The raspberry rose sauce is so delicious that it is worth making a double batch. It can be served over vanilla ice cream or as a topping for other desserts.
- One of the best things about this recipe is that there is no need for a water bath (which aids in creating a smooth texture in the cheesecake). Instead, I prefer to place a large tray of hot water in the oven on the tray beneath the cheesecake, which achieves the same effect without the need to worry about waterproofing the cake tin or water seeping into the cheesecake. This method works perfectly every time.
Free Resources
Click on the links below to print or save this recipe to your device.
