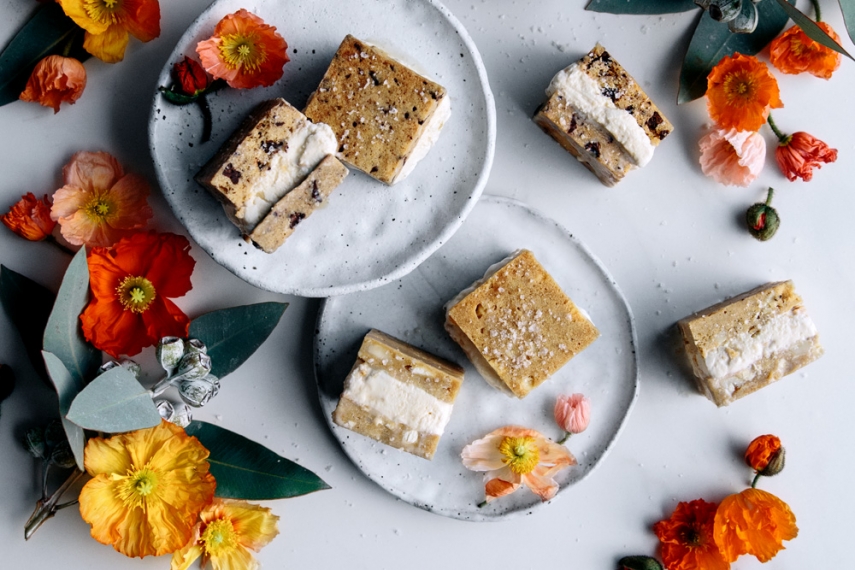
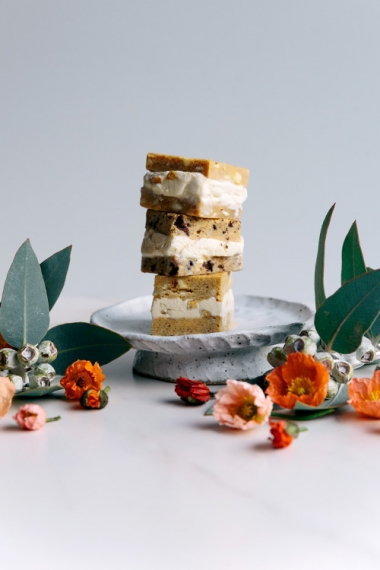
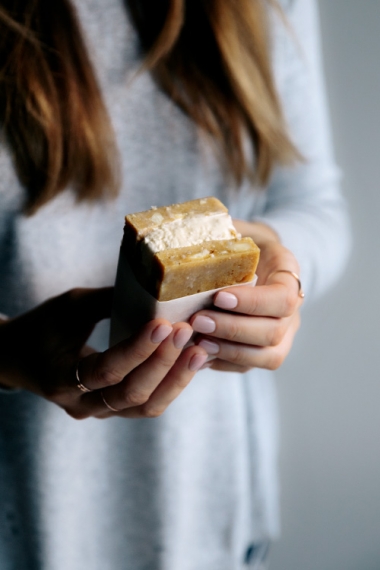
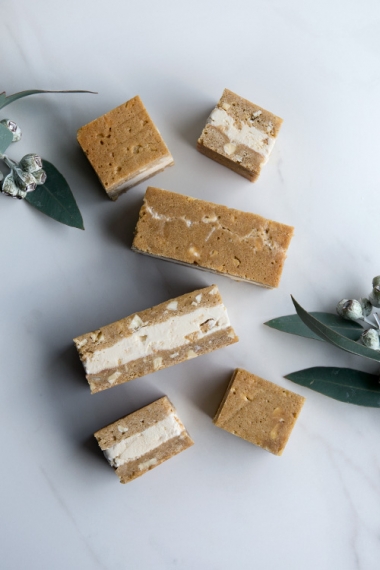
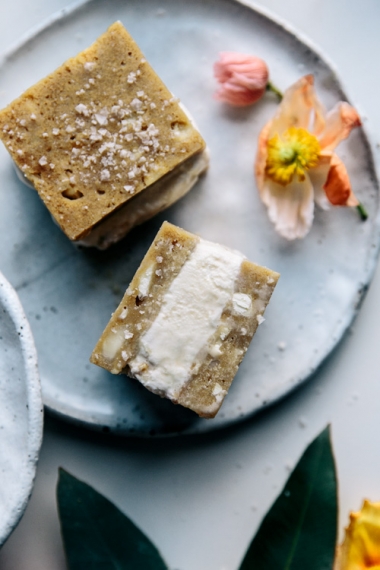
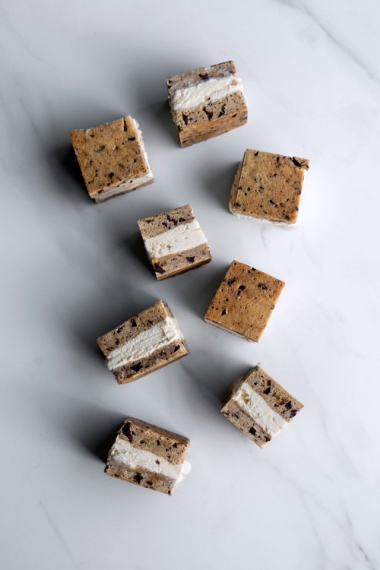
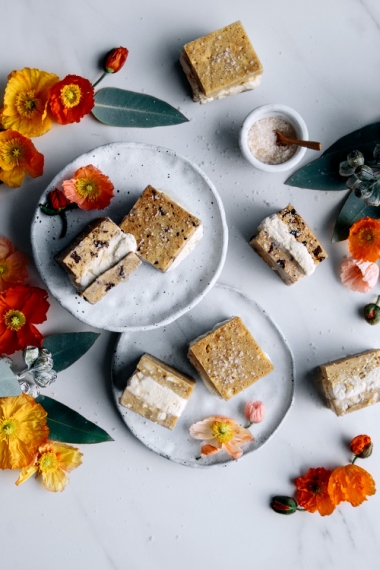
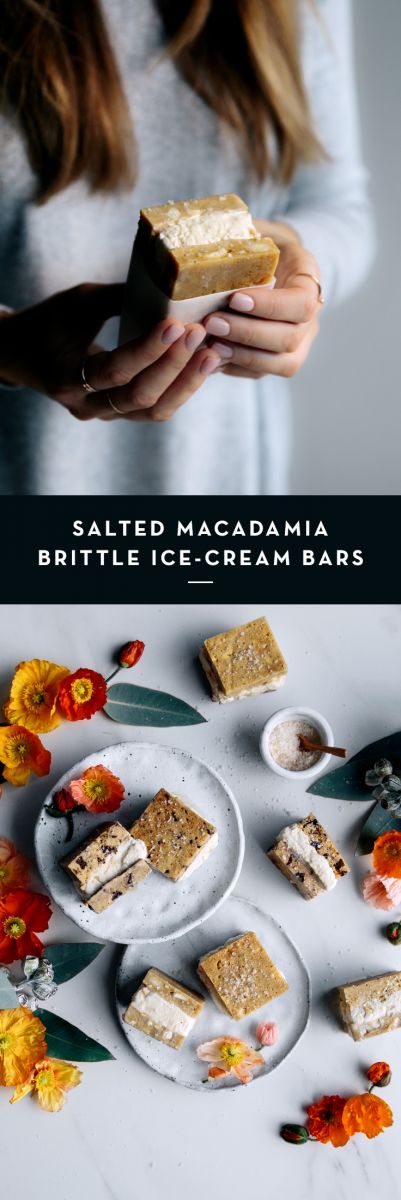
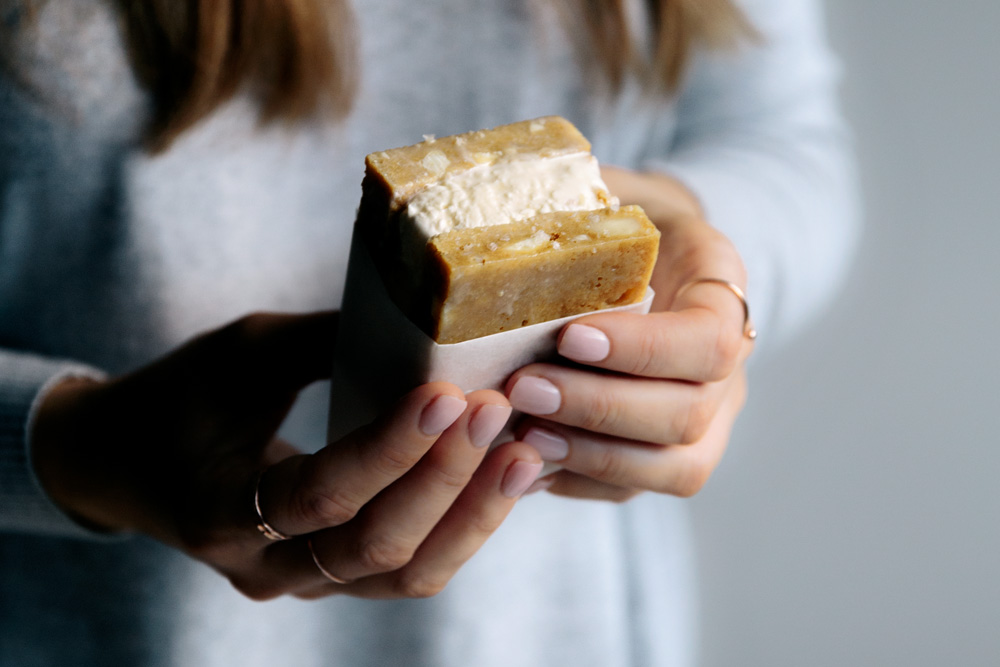
This week’s new recipe is an indulgent treat I created for Mother’s Day weekend; Salted Macadamia Nut Brittle Ice Cream Bars. Yum!
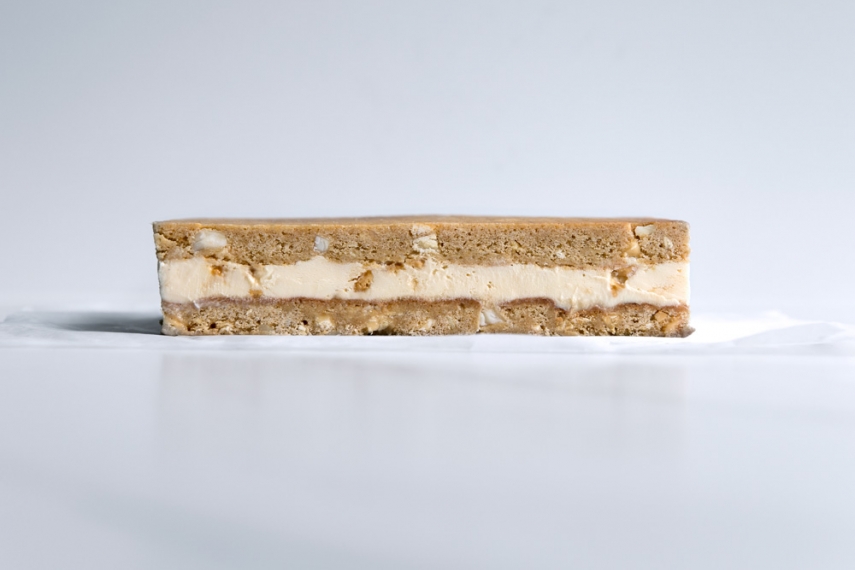
My mum LOVES macadamia nuts, so I've created these ice cream bars using Häagen-Dazs macadamia nut brittle ice cream, sandwiched between homemade macadamia cookie bars. But please feel free to change up the ice cream flavour inside depending on your mum’s (or your) favourite flavour.
The recipe for the cookie bars calls for plain flour, but as my mum is gluten intolerant I've used a gluten free flour blend (which turns out just the same). You could also swap the brown sugar for coconut sugar if you prefer. There is also a choice of using chopped white or dark chocolate in the recipe. My mum loves dark chocolate so I made the dark chocolate versions for her. You could even do a mix of both if you like.
Enjoy the recipe! Oh, and Happy Mother’s Day to all the mum’s out there. Thank you for everything you do. Have the best day celebrating with your family and friends!

Ingredients
 2 hours + setting time
  10-12
10-12 - 200g butter, chopped
- 1 cup brown sugar, firmly packed
- 1 teaspoon vanilla bean paste or extract
- 2 eggs
- 2 cups plain/all-purpose flour
- 1 teaspoon bicarbonate soda
- 200g dark or white chocolate, roughly chopped
- 1/4 cup roughly chopped macadamia nuts
- Pinch sea salt flakes
- 1 liter good quality vanilla ice cream
- Sea salt flakes, for sprinkling
Method
- Preheat oven to 180°C/350°F (160°C/320°F fan forced oven).
- Line the base and sides of two 24cm x 16cm brownie pans with baking paper.
- Melt the butter in a small saucepan over very low heat. Simmer, stirring occasionally for 10 minutes, or until the butter is lightly foaming and the solids caramelise at the bottom of the pan.
- Once the butter is golden brown and has a nutty aroma, remove from the heat and pour into a bowl to cool.
- Combine the sugar, vanilla extract, and eggs in a medium bowl.
- Beat with an electric mixer for 5 minutes or until the sugar crystals have dissolved.
- Add the cooled brown butter and mix again until combined.
- Sift the flour, bicarbonate soda, and salt together.
- Add the chocolate and macadamias and stir into the mixture until everything is completely incorporated.
- Spoon half of the mixture evenly into each pan, pressing out into the edges.
- Bake for 20 minutes at 180°C/350°F (160°C/320°F fan forced oven).
- Remove from the oven and allow to cool completely in the pans.
- Scoop ice cream onto one of the cookie bars in the pan then flatten and spread the ice cream with the back of a spoon.
- Remove the second cookie bar from its pan and remove the baking paper.
- Place the second cookie bar on top of the ice cream and press it down a little.
- Cover and freeze overnight until firm.
- To serve, lift the cookie bar from the pan, remove the baking paper, slice into small bars or squares, and sprinkle with a little sea salt. Enjoy!


